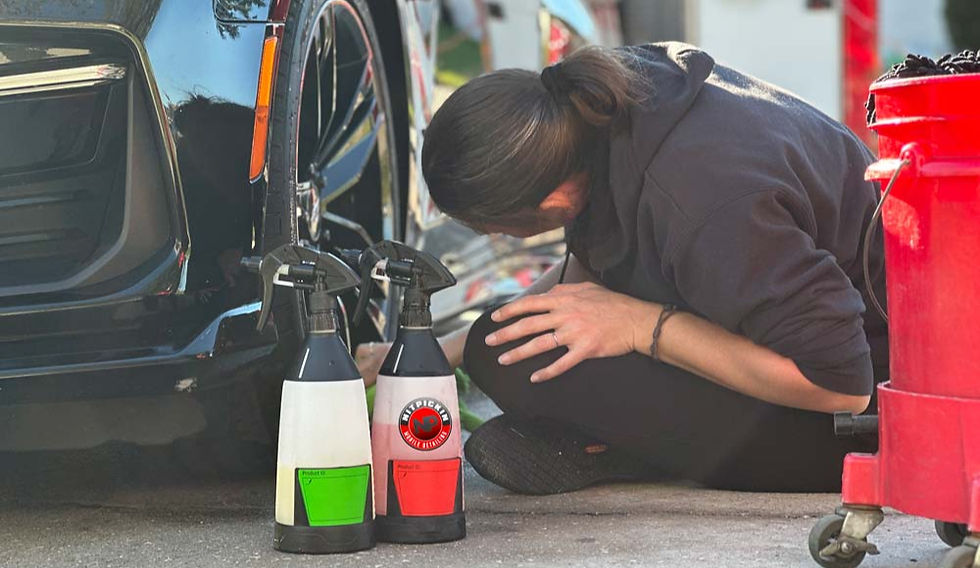
How to Properly Wash a Ceramic Coated Vehicle
- Tommy Trenton Jr

- Aug 11, 2025
- 3 min read

Let's dive Into techniques needed for washing your ceramic coated vehicle using GlassParency car care products. by the end of this post you will have a clear understanding of how to safely wash your ceramic coated vehicle quickly and effectively using products we use every day.
Maintaining a ceramic-coated vehicle is straightforward. With the right techniques and products, you can effortlessly preserve that showroom shine and safeguard your investment for years. GlassParency's line of car care products is expertly crafted to complement ceramic coatings, guaranteeing a safe and effective wash every time. Follow this simple, step-by-step guide to get started.
Step 1: The Pre-Wash Foam
Before you even touch your vehicle, a proper pre-wash is crucial to loosen and lift away loose dirt and grime. This minimizes the risk of scratching the ceramic coating during the contact wash phase.
Start with GlassParency's S1 SOAP. Dilute it according to the instructions on the bottle and apply it generously to the entire vehicle using a foam cannon. We usually put about 2oz in our foam cannon.
Allow the foam to remain on the surface of your vehicle for several minutes. Ensure it does not dry and avoid applying it in direct sunlight. You will observe it lifting dirt from the paint, thereby minimizing the risk of micro-scratches. Rinse away the foam and dirt using a pressure washer or hose. Want to learn more about foam cannons so you don't get ripped off? Don't pay to much and find the perfect foam cannon for pressure washers, click here.
Step 2: The Two-Bucket Wash Method
This method is considered the gold standard for washing vehicles, particularly those with a ceramic coating. It significantly minimizes the risk of reintroducing dirt and grit onto the paint.
Fill one bucket with clean water for rinsing your wash mitt and the other with a mixture of water and GlassParency's S3 SOAP
Use GlassParency's high-quality microfiber wash mitt. Start at the top of the vehicle and work your way down.
After cleaning a small area, thoroughly rinse your wash mitt in the clean water bucket before re-immersing it in the soapy water. This practice helps maintain the suds bucket free from contaminants.
Wash your car one section at a time, and make sure the soap doesn't dry on it.
Dry your vehicle using a GlassParency Twist Loop Drying Towel 1200gsm. If you have a large vehicle, consider having 2-3 drying towels on hand.
If you have a leaf blower or any other type of blower, you can use it to blow out cracks and crevices before using the towel to dry your vehicle.
Step 4: The Finishing Touch
To maintain the hydrophobic properties of your ceramic coating, consider a periodic booster application.
GlassParency's BOOST Multi Use Sealant is an excellent choice. It adds a layer of protection and boosts the gloss and slickness of your existing ceramic coating, making future washes even easier.
GP's BOOST is great to use on all surfaces including paint, glass, plastic, rubber trim, especially windshields! It can be hand applied using a soft 460 gsm microfiber towels or it can be sprayed on the surface and rinsed off. By following these simple steps and using the right products, you'll ensure your ceramic coated vehicle not only looks its best but also remains protected. With GlassParency's car care line, you can enjoy a professional-level wash right in your own driveway.
Now that you know the basics of how to wash a ceramic coated vehicle
Use discount code NITPICKIN15 everytime you make a purchase from GlassParency for 15% off all day, every day, forever.


